Pick the Right Assistant
Your public workspace starts with four assistants. In this lesson, you’ll learn what each one is for and how to switch between them.
In Lesson 1, you used the AI Guide. Now you’ll meet the other three public assistants and learn when to pick each one.
Quick Reference — Your Assistants at a Glance
Here’s a quick look at the assistants available on the platform. You can come back to this card anytime.
| Assistant | Best For | Not Ideal For |
|---|---|---|
| AI Guide | Learning the platform, getting started | Real work tasks |
| Document Analyst | Reading and analysing uploaded documents | Tasks without a specific document |
| Quick Assistant | Fast brainstorms, rough drafts, quick lookups | Anything for a funder or board |
| Thoughtful Assistant | Important decisions, careful analysis | Time-sensitive tasks |
What’s in this lesson
- Open the model dropdown — find where to switch assistants
- Meet your assistants — learn what each one does best
- Switch to a different assistant — try picking one
- Compare two assistants — see the difference for yourself
Open the Model Dropdown
First, let’s find where you switch assistants. It takes one click.
Where to look: At the very top left of the screen, you’ll see the name of the assistant you’re currently using. If you just finished Lesson 1, it probably says “AI Guide.”
What to do: Click on that name. A dropdown list will appear showing all the assistants available to you.
What you’ll see: A list of four public assistants. Each one has a name and a short description.
What happens: Nothing changes yet — you’re just browsing. Clicking the name opens the list, but you haven’t switched to anything. Think of it like opening a menu at a restaurant — you’re just looking at your options.
Meet Your Assistants
Each assistant is designed for a different kind of task. Here’s who they are and when to use them.
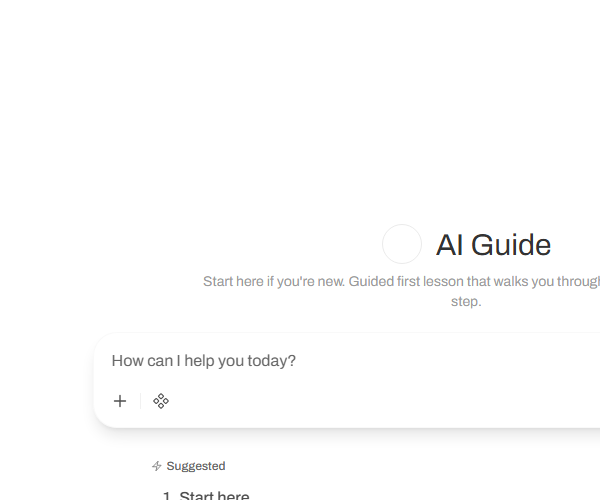
AI Guide
You already met this one in Lesson 1. The AI Guide helps you learn the platform — use it when you’re getting started or want to explore a new feature.
Document Analyst
Give this assistant a document, and it will read the whole thing and pull out what matters. Upload meeting notes and ask for action items. Share a policy and ask for a plain-language summary. It works best when it has something specific to read.
Best for: Reading and analysing uploaded documents (works best under ~50 pages). For longer documents, upload the most relevant section.
Not ideal for: Tasks without a specific document.
Quick Assistant
Need a fast answer? This assistant responds quickly and keeps things brief. Good for brainstorming, rough first drafts, or when you just need a quick look at something. Don’t use it for anything that needs to be polished — it prioritises speed over depth.
Best for: Fast brainstorms, rough drafts, quick lookups.
Not ideal for: Anything going to a funder or board.
Thoughtful Assistant
When the question really matters, use this one. It takes more time but gives more careful, nuanced responses. Good for important decisions, complex analysis, or when you want the AI to think things through thoroughly.
Best for: Important decisions, careful analysis, nuanced questions.
Not ideal for: Time-sensitive tasks.
Switch to a Different Assistant
Now that you know who’s who, let’s actually switch assistants. It’s quick and easy.
What to do: Click on the assistant name at the top of the screen to open the dropdown. Then click on “Thoughtful Assistant.”
What happens: The name at the top of the screen changes to “Thoughtful Assistant.” Your next message will go to that assistant instead of the AI Guide.
A note about switching mid-conversation: If you switch assistants in the middle of a conversation, the new assistant won’t know what was said before. For best results, start a new chat when you switch assistants.

Try switching assistants now.
Try switching assistantsTry It — Compare Two Assistants
This is the fun part. You’re going to ask two different assistants the same question and see how their answers compare.
Here’s what to do:
- Start a new chat and switch to Quick Assistant.
- Type: “What should I include in a thank-you email to a volunteer?”
- Read the response.
- Start another new chat and switch to Thoughtful Assistant.
- Type the exact same question.
- Compare the two responses.
What you’ll notice: Quick Assistant gives you a fast, short answer you can use right away. Thoughtful Assistant takes more time, but gives a more detailed, nuanced response with more context and reasoning.
Thoughtful response

Quick response

Ready to try it? Start with Quick Assistant.
Try it in the platformYou Know Your Assistants
You now know which assistant to pick for different tasks. You can open the dropdown, read what’s available, and choose the one that fits your needs.
Ready to put your assistants to work?
Try your assistantsIn the next lesson, you’ll learn how to upload documents and work with them — so your assistants can help you with the files you already have.
Next: Lesson 3 — Add Your Documents →